Designing a Budget Petzval Lens for Additive Manufacturing
Andrew Rogers
- March 26, 2026
- Design Process
Project Genesis –
At a certain point in my photo journey I decided I needed a Petzval lens to expand my set of tools. Of course that was before I looked at prices for them. The simple lenses, often take-offs from old magic lantern projectors, were a bit much. While I don’t have money to burn on antique lenses, I do have a 3D printer or two. I also know just enough Fusion to be dangerous and access to all sorts of information (lens formulae, optics vendors, etc). I decided that I might be able to make one for much less, so I set out to design and construct a budget-friendly Petzval-style lens. I started with a design for 8×10 but sourcing the necessary optics turned out to be an expensive and difficult proposition. So I refined the design for a more practical 4×5 format, using affordable surplus optics and modern fabrication methods like 3D printing. What follows is the TLDR on the design decisions, trade-offs, and practical lessons learned along the way.
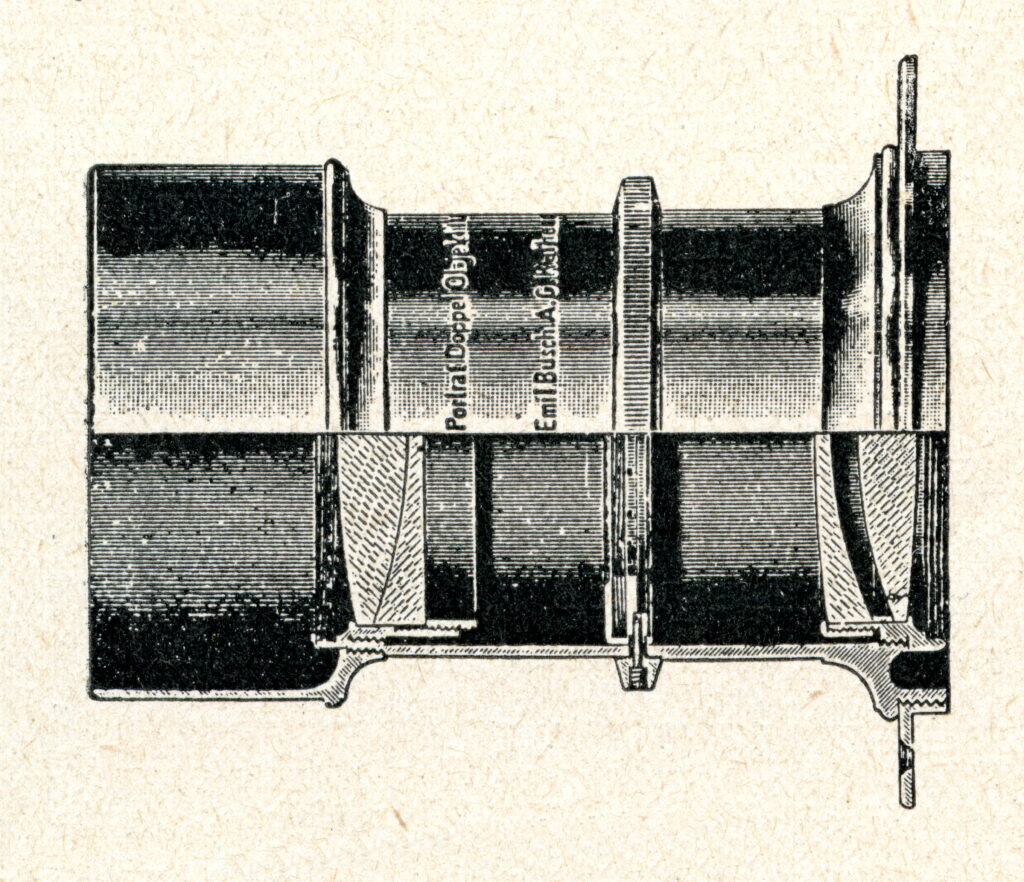
From an Idea to Practical Design –
My original goal: a 300mm Petzval lens for 8×10 film using two doublet groups. The design was doable, but sourcing large enough optics at a reasonable cost quickly had me move to a compromise.
I decided to pivot to a 4×5 format lens, where:
* Optical requirements are more forgiving
* Smaller, cheaper lenses become viable
* Mechanical design is easier to manage
The final working design uses:
* Two Surplus Shed L14811 achromatic lens sets
* Each ~51mm diameter, ~360mm focal length
* Combined into a two-group Petzval-style system
By adjusting the spacing between these groups, the system was tuned to an effective focal length of approximately 210mm, a “normal” focal length for 4×5.
Optical Design –

Unlike a traditional Petzval, this build relies on off-the-shelf achromats, not custom-designed elements. That means:
* Spacing becomes the primary tuning variable
* The lens is optimized empirically rather than analytically
Key behaviors:
* Infinity focus occurs when the lens sits about one focal length from the film (~210mm)
* Closer focus is achieved by moving the entire lens assembly away from the film
* Total focus travel is about 60mm
Focus is achieved by moving the entire optical assembly—not by changing spacing between elements (changing spacing alters the lens design itself (focal length + aberrations), while focusing is purely positional).
At the end of the day, the goal is not perfection, but balance:
* Maximum center contrast
* Minimal glow from spherical aberration
* Pleasing Petzval field curvature
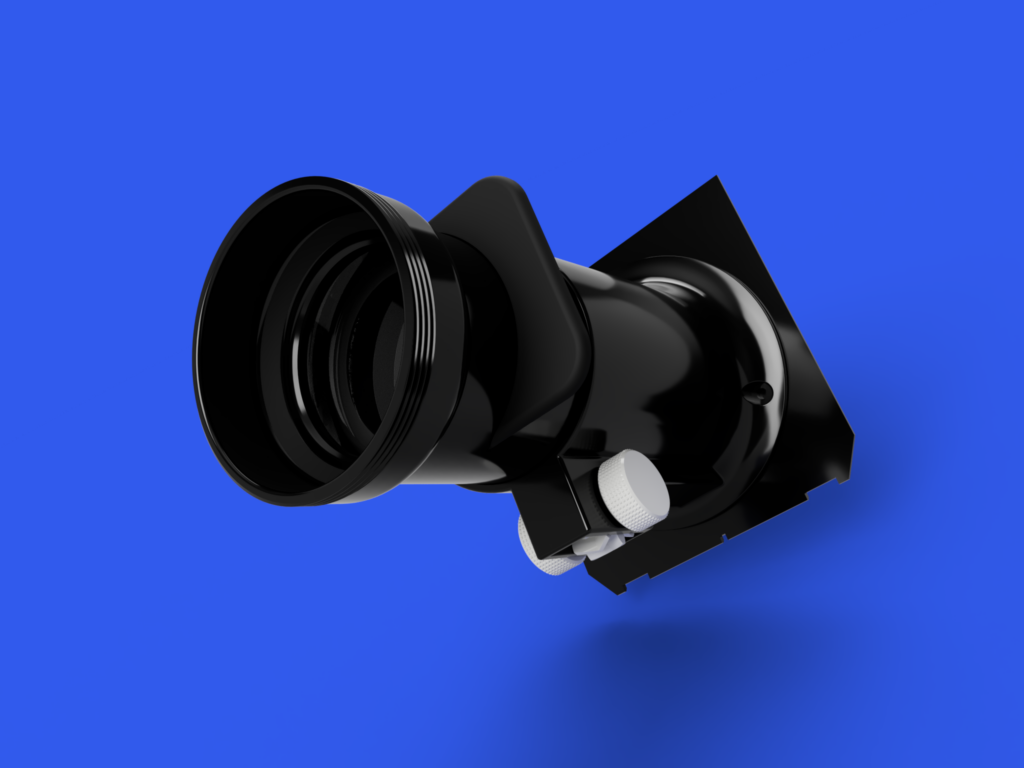
Mechanical Design Considerations –
I designed the lens barrel for 3D printing in ABS/ASA, taking into account:
* Light tightness
* Structural rigidity
* Internal reflections
* Focusing mechanics
Wall thickness is important:
* 2mm: borderline
* 3–4mm: ideal
* 7mm: overbuilt
I decided on a dual-structure design:
Inner barrel (the moving bit):
* Holds optics, baffles, Waterhouse stop
* ~52mm clear bore, 55mm outer diameter
Outer sleeve (the fixed bit):
* Contains rack & pinion
* Provides structural rigidity
* Maintains alignment
This effectively solves the weakness of thinner printed walls, but is a bit of a compromise. I had to make the lens small enough to fit on a standard(ish) Linhoff style lens board.
Internal reflections matter far more than wall opacity. I’m managing that in a couple of ways; I’m lining the interior of the lens barrel with self adhesive flocking material. This has two benefits, it’s an excellent material for taming internal reflections and it should take care of any opacity issues. I’m also painting areas where I can’t use the flocking material with the most matte black paint I can get.
Avoiding Vignetting –
A critical constraint was maintaining enough internal diameter:
* Lens diameter: ~51mm
* Barrel bore: 52mm
* Baffles: ~50mm front/rear, ~47–48mm center
This ensures the barrel does not become the limiting aperture.
Focusing Mechanism Design –
A rack-and-pinion system was integrated into the outer sleeve.
Key layout decisions:
* Rack on bottom
* Waterhouse stop slot on the side
* Pinion positioned near mid-travel
Travel setup:
* Rear stop = infinity
* Forward movement = closer focus
* Total travel ≈ approximately 60mm (+/-)
The outer sleeve not only supports the pinion but also:
* Prevents barrel flex
* Maintains coaxial alignment
Final Build Geometry Overview –
* Inner barrel: 55mm OD / 52mm ID
* Rack zone: ~75–80mm
* Guide lands: ~18mm front and rear
* Lens seats: ~12mm each end
* Outer sleeve overlap: ~75–90mm
Cost –
Not including my time or the filament expended, the two doublet pairs were quite inexpensive. Not including tax or shipping, the optics were $20 from Surplus Shed
Testing Results –
Initial testing verified the basic design. Not tested were aspects such as lens edge blackening, interior flocking and the focusing mechanism. The design prototype was mounted on a standard 4×5 technical camera and utilized its focusing to confirm viability. Test images were recorded on Fuji Instax Wide color film via the LomoGraflok 4×5 film back.
Further Refinements –
Adding a shutter mechanism. Currently I’ve designed a guillotine style drop shutter in place of the old “pull the lens cap off, count, put the lens cap on” method. Shutter speed is determined by the speed of the falling “blade” and the size of the slit in it. Further testing is needed to determine the sweet spot for exposure timing.
And that’s where I’m at. A working prototype of a lens from a bygone era; designed using digital tools and additive manufacturing.